If you’re a lover of mushrooms, you want to have them on your favorite meals like pizza or chicken. Your next move is thinking about how to have easy access to them at your home. Is it possible to grow mushrooms in your home? It’s not as difficult as you might think to grow this delicacy inside. Here are some ways to do that!
When growing mushrooms, it’s best to start out deciding what type of mushroom you want to grow. The most common types are shiitake, oyster, white button, Portobello, cremini, and lion’s mane. Each one requires a different type of environment to grow. Some mushrooms are planted in sawdust, a tree log, compost, or straw.
You could buy a mushroom growing kit that comes with the mushroom spawn already in it. The kit comes with instructions and ready to use, mainly with sawdust or straw. You open the kit bag in a place without sunlight, since mushrooms grow best in dark, moist places. Spray the kit with water to keep the humidity high, since it needs moisture to grow. Mushrooms grow in temperatures between 55 – 75 degrees Fahrenheit. You can place your mushroom kit on a windowsill with little light and spray mist it two to three times a day.
As your mushrooms grow, you could see some fruiting in 7-10 days. You can also see one to two pounds of mushrooms in one to three months. After harvesting the mushrooms, put them in a brown bag in the refrigerator. Be mindful that they last in the refrigerator for up to seven days. Once the fruiting is finished, you can bury the kit bark in springtime in bark mulch or under a compost pile.
If you don’t want to buy a kit, you can create your own planting space or substrate. Let’s get some specifics on how to grow the most popular types of mushrooms. Portobello and White Button grow best in composted manure mixed in with straw. The manure is rich in nutrients for the plant. You can get the straw from a horse stable as well. Shiitake grows best on a log or with sawdust, mainly hardwood sawdust. Oyster mushrooms can grow in straw. You can also use sawdust, cardboard, or coffee grounds for oyster mushrooms as well.
Here are the next steps to cultivating your mushrooms after creating your own substrate.
1. Buy your mushrooms spawns or spores – You can buy them online or at a store. However, spores take longer to grow, so buy the spawns instead.
2. Obtain coffee grounds – You need to mix you spawn with coffee grounds to pasteurize, to kill off any living microorganisms on your spawn. You can get coffee grounds from any coffee shop left from their coffee usage. Mix the coffee grounds the same day you get the spawn.
3. Inoculate your Spawn with the Appropriate Substrate – You can place the spawn in either a log, straw, sawdust, or compost, depending upon the mushroom you’re growing. Use a 1:5 ratio of spawn to the substrate when mixing.
4. Cultivate Your Mushrooms – place the spawn mixture in an appropriate container. You can get a filter patch bag from a gardening store, or use a cleaned-out ice cream container, or a large freezer bag. Seal your bag at the top, place it somewhere warm, ideally 70 degrees Fahrenheit for three weeks. You could use an airing cupboard or heated room. After three weeks, spawn has come to life with coffee grounds turning white.
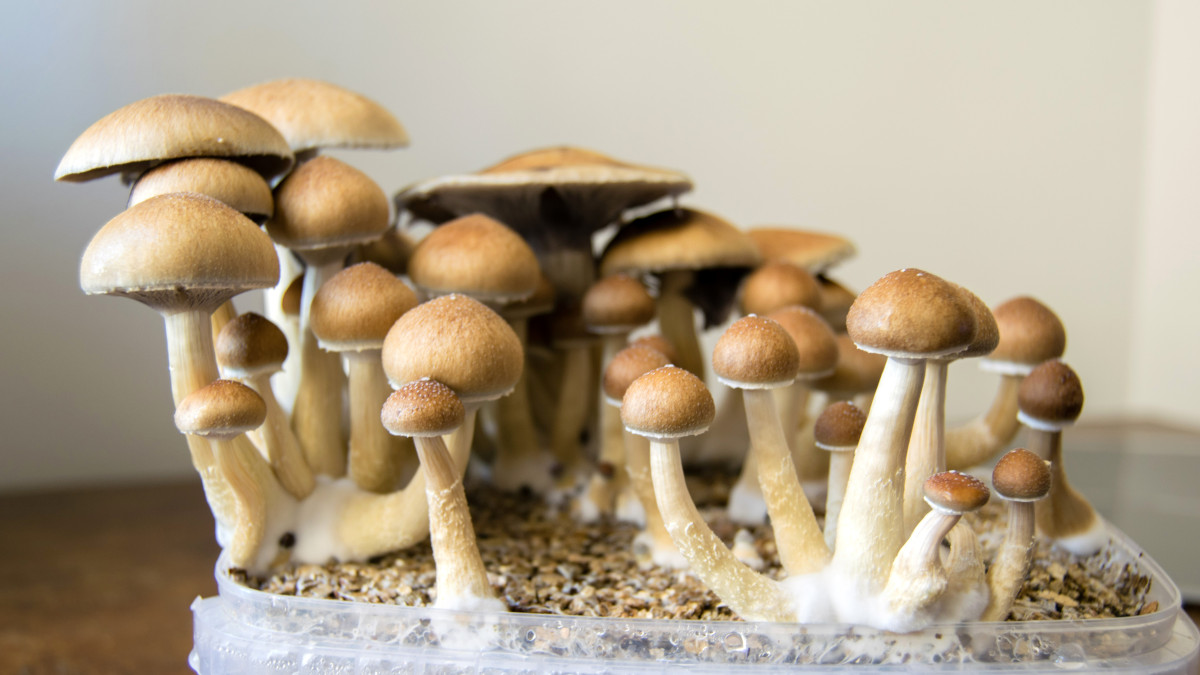
5. Fruiting of Mushrooms – Now you can place the budding spawn on a windowsill or basement, then taking off or cutting off the cover of the container. Spray mist the mushroom a few times a day to maintain moisture and humidity. You will see mushrooms sprouting in a week, then doubling in size.
Be mindful to maintain a healthy environment for your mushrooms. Keep the substrate moist with daily spraying and make sure the room is not too dry. Buying good quality spawn also helps the substrate turn white. If there are green spots, sprinkle salt in the mixture. Enjoy your growing mushroom garden and happy gardening!
⚠️ The statements in this article have not been evaluated by Health Canada. Use of mushrooms or any supplements should always be discussed with a healthcare professional.